Garden Landscaping
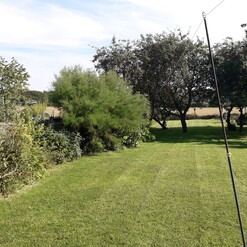
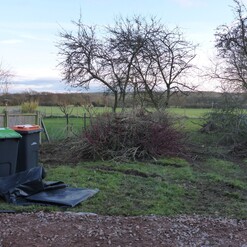
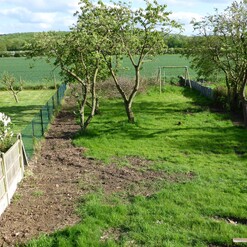
The above view shows my own garden from the back of the house with a great view across the fields in a southerly direction. The garden was relatively tidy when we started albeit neglected beyond basic grass cutting. There were some very established shrubs and a number of old fruit trees well beyond their best. The shrubs were removed early on to allow the building works to proceed. The ultimate plan is decking and paving to the rear of the house a pathway up the garden and an outdoor covered cooking space with some adjacent seating.
The Summer House project
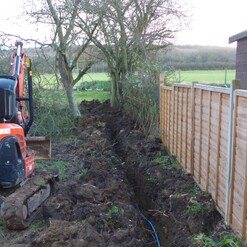
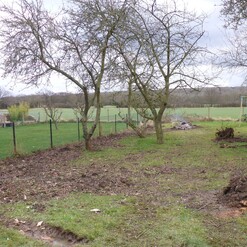
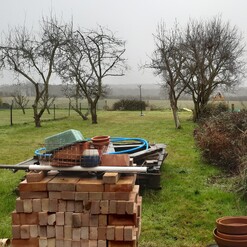
As I sit typing in January 2024 I have to admit this has taken a lot longer to realise than originally envisaged. I wont get into the house project too much here but I worked on (and project managed) an extension and complete refurbishment of the property. A huge task but very satisfying upon completion. Of course what we hadn't factored in (who could?) was the whole Covid pandemic and all the implications. Not only from just the shut down (stay at home everybody) to the significant material shortages and subsequent price increases across the board. This added probably 8 - 12 months to the house project along with associated costs. We finally moved in to a completed build in April 2021 but the garden was virtually untouched beyond the initial clearance.
The outline plan for the garden includes decking, paving, pathways, lawn leveling, some raised beds, garden store / workshop and an outdoor seating / cooking area. Into this mix came a summer house.....
Summer House Refurbishment Project
So this summer house wasn't originally in the plans for the garden but it became available and some family connections made it irresistible! It's a rotating summer house that had been originally installed at my Grandparents property some time in the late 1950's or early 1960's. I remember it as a child and used to play in it and spin round. When my grandparents sold their original large property and downsized to a bungalow they moved the summer house with them and there it sat. Over time my grandparents passed on and the bungalow changed hands, several times in fact until a point in 2018 when the current owners felt they no longer wanted an old (in need of repair) summer house any longer.
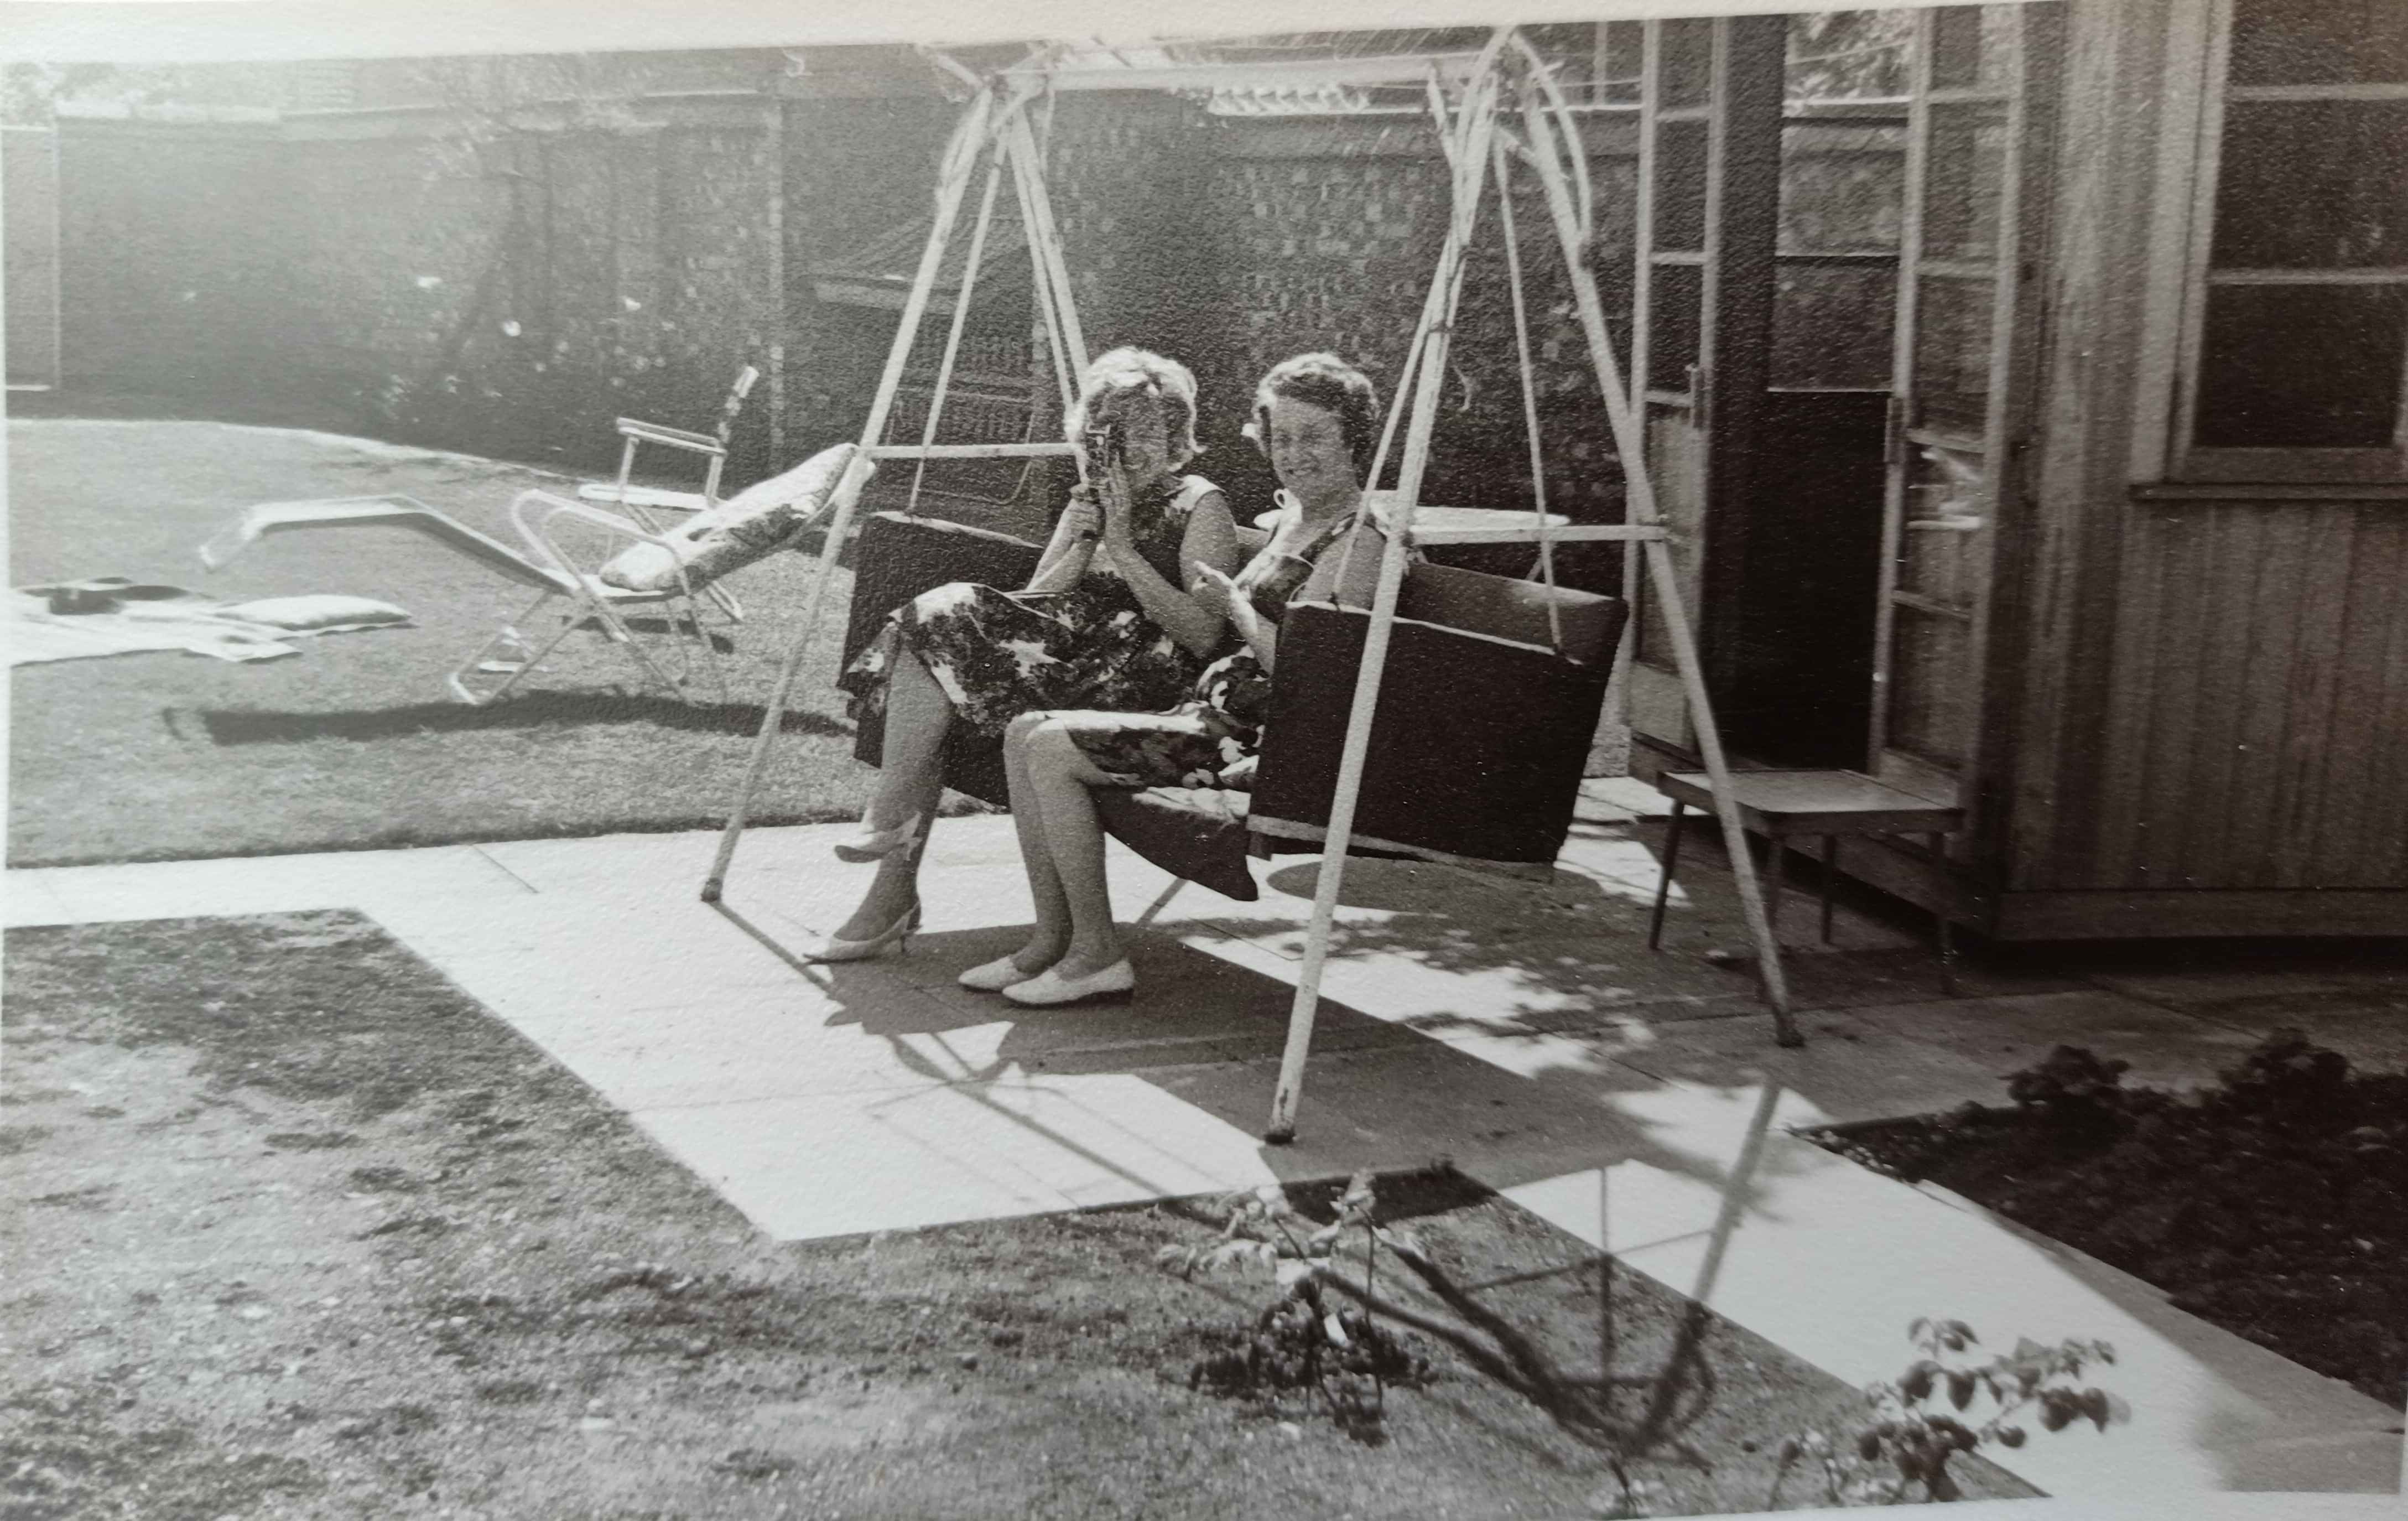
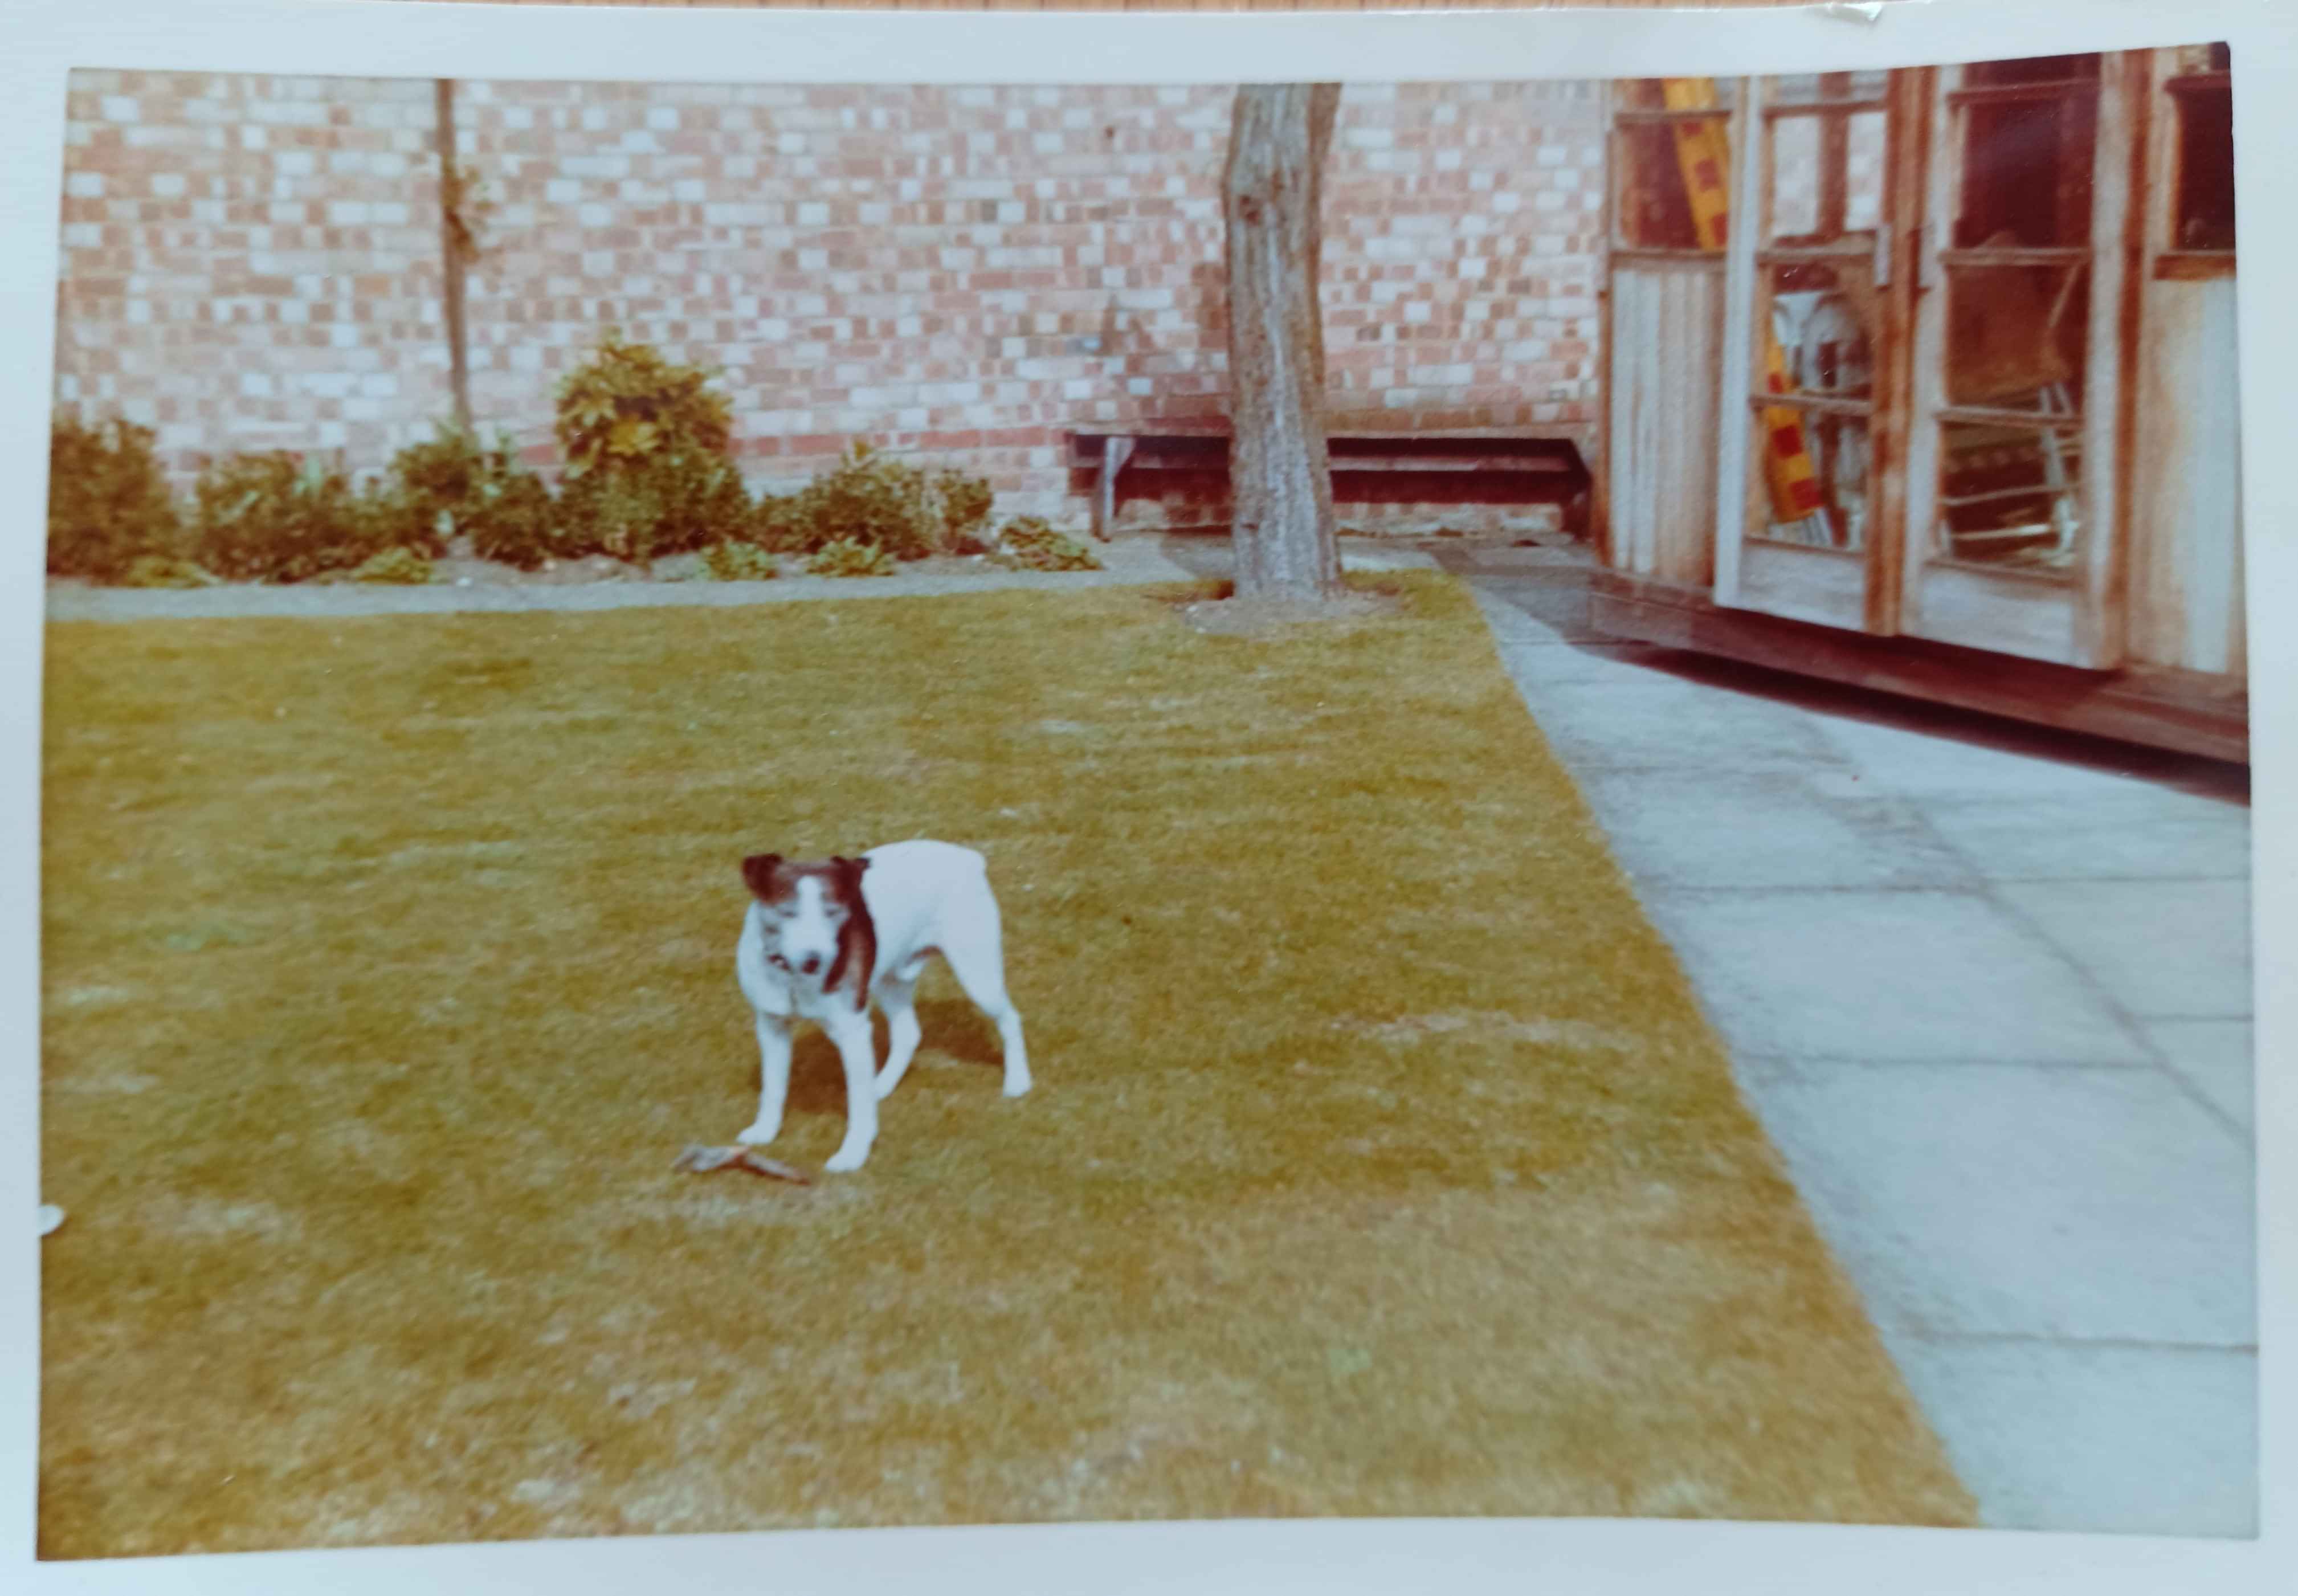
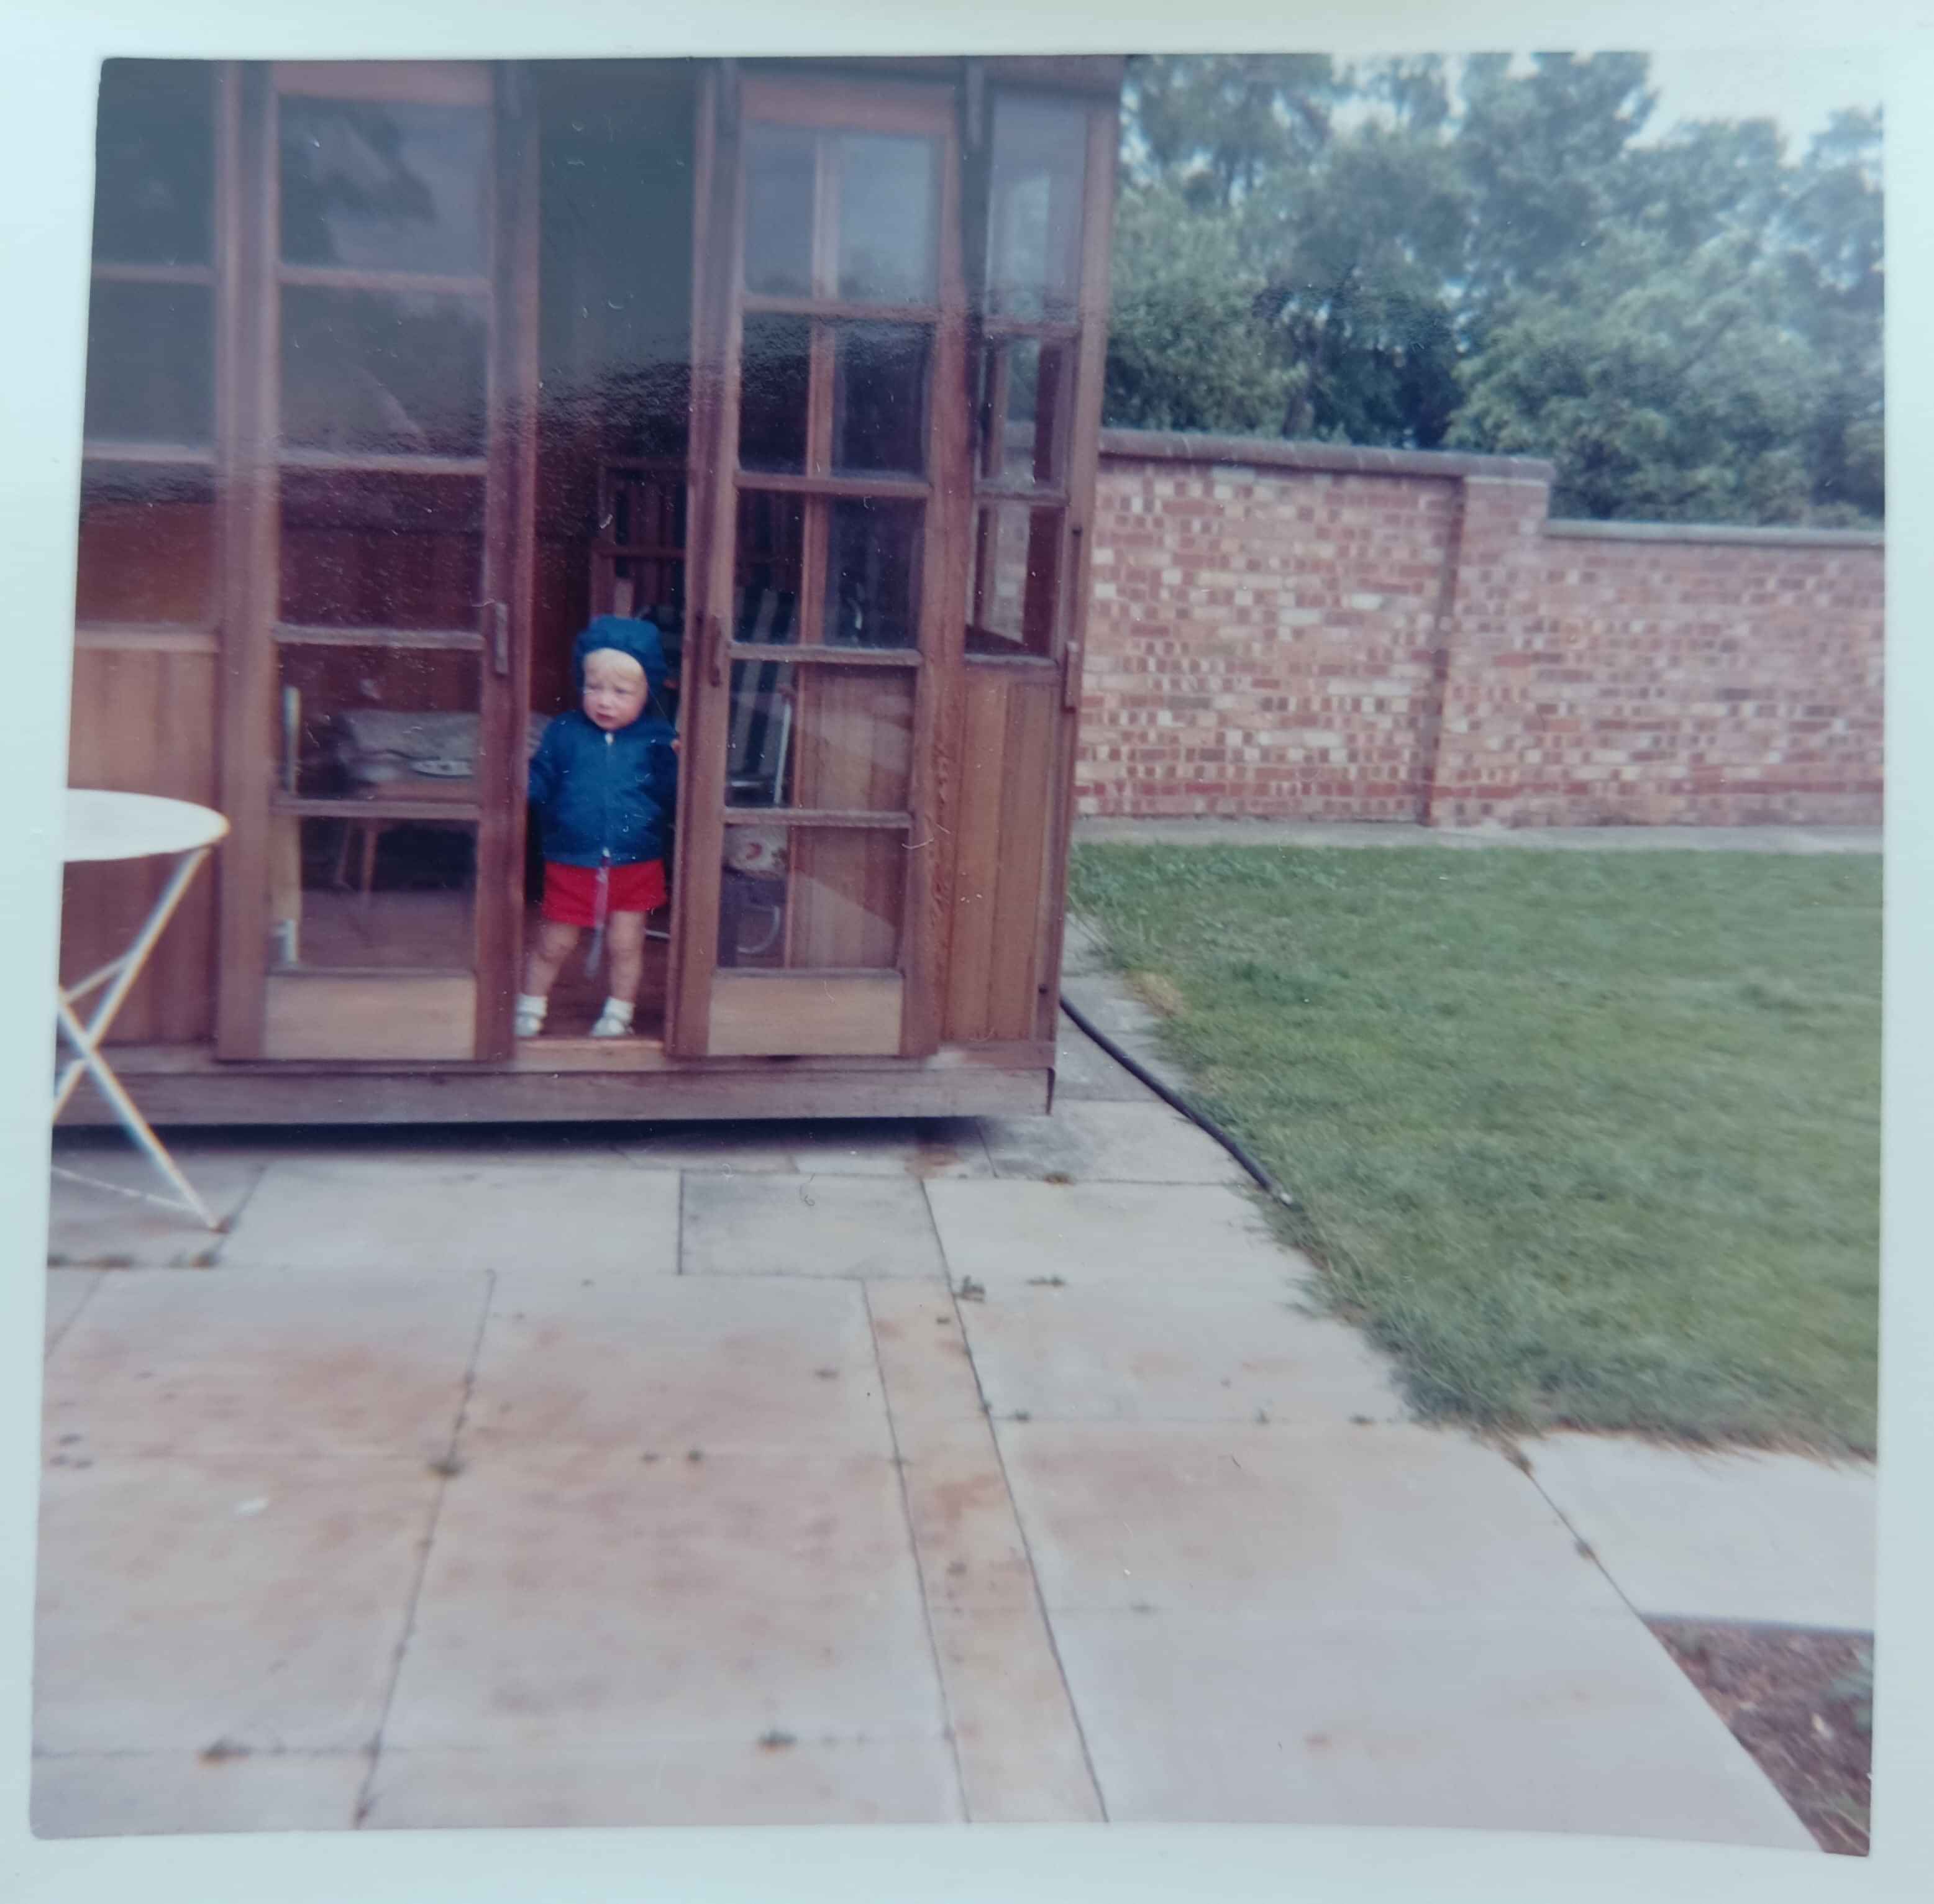
Knowing the current owners it was offered to me if I wanted to dismantle it and take it away, I jumped at the chance and collected the building and sub-frame and moved it to our new house awaiting an opportunity to re-furb it. Below you'll see some original family photos showing the Summer House. These are likely from the early 60's, One has my mother and grandmother sitting in front of it, another with my Grandmothers dog and another with me, I'm guessing around 1966 /67. The photos are not dated!
The Summer House recovery
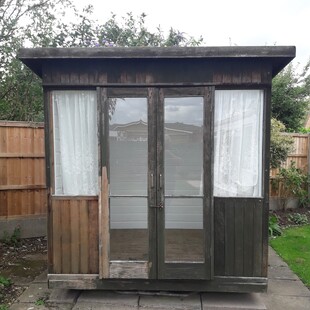
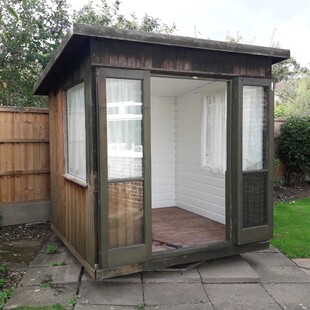
Having said yes to the Summer House we went and collected the building from the property where it had been in position since the mid 1970's. One of the previous owners had carried out some refurbishment works which had included re-roofing, internal cladding with some white PVC cladding and replacing the windows and doors. Originally the side windows opened and the doors across the front were on runners so they slid open. By the time I got to the summer house the side windows were long gone and are now just one sheet of perspex and the doors are on hinges. I understand the windows being changed but not sure why the doors were hinged and not left on the runners.
Summer House re-build
So rolling on a few years from the dismantling.... I finally got around to working on the re-build of the summer house. The building rotated on a center pin by means of five castors and traveled on a metal plate. Needless to say this all required some work. The metal plate was affixed to timber bears which had extensive rot issues. After being stored the already 60 + year old castors had fully seized and no amount of lubricant was freeing them off. Also the base of the unit was also showing signs of rot and would have been a fiddly repair. So using the existing design as a template I set out to re-build from the ground up.
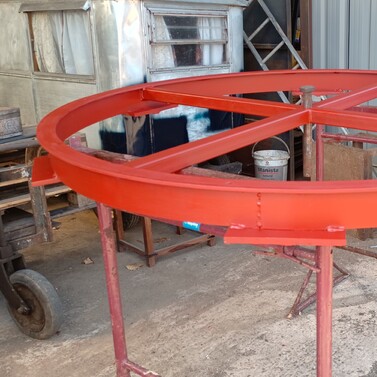
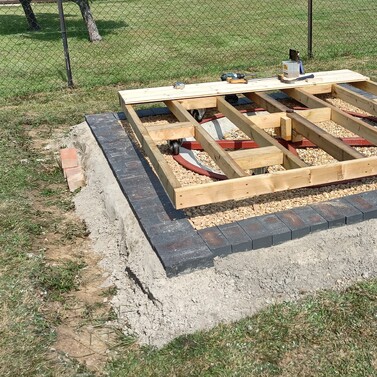
The steel runner plate went to a local engineering / fabrication shop and was cleaned down. I opted not to use a timber base this time and decided it would be best with some better fabrication so it could be concreted into the ground. With the old timber base as a template a complete new runner was formed using the original castor plate. Then after fabrication it was coated with Red Oxide primer.
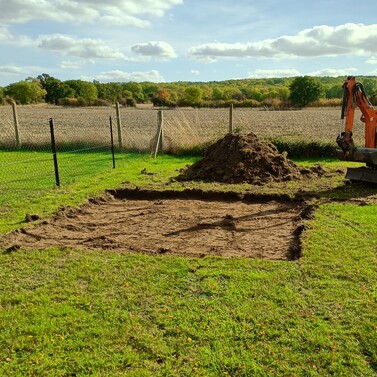
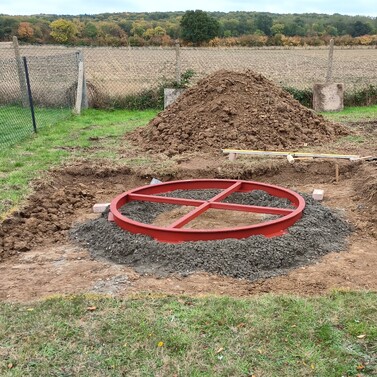
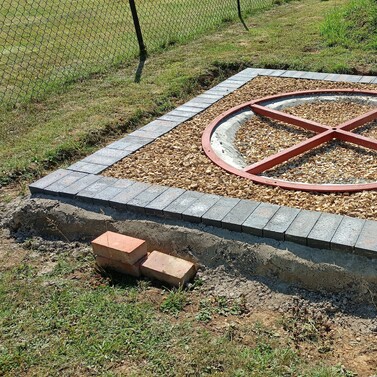
We then had to think about where to locate the summer house in the garden. Having established required finished levels across the garden the base was excavated and the new summer house base was laid down and and set into a concrete foundation. Knowing how inaccessible the ground would be upon completion the ground works for the base were finished.
The next stage was the rebuild build of the summer house floor itself. The actual building is approximately 7' square so using the old frame as a template (remember I need the original walls to fit on exactly) I built up new timber frame work and fitted heavy duty noggins for the castors. I have purchased new all steel castors, these are slightly bigger than the original ones having failed to find an exact replacement. But my reasoning is to improve the job where I can so not only have I got heavy duty castors I also purchased six and not five as it had originally. I located this on the new base ring and voila it's bang on. The final stage is to fix new T&G floor boards to the base frame and then, having again double checked the rotation its time to start refitting the walls and roof.

